Ping Identity
Introduction
Single Sign-On (SSO) functionality for enterprise customers is available to access Reimbi through a single authentication source, like Ping Identity. This allows IT administrators to better manage team access and keeps information more secure. SSO is only used for staff account users. It has no impact on your requesters/candidates.
Reimbi uses SAML (Security Assertion Markup Language), a standard that permits identity managers, Ping Identity for example, to safely pass authorization credentials to service providers like Reimbi.
Ping Identity setup
These are instructions for setting up Reimbi SAML SSO with Ping Identity.
Create a new SAML application
- Login to the admin panel: https://admin.pingone.com/web-portal/login
- Go to the Applications tab
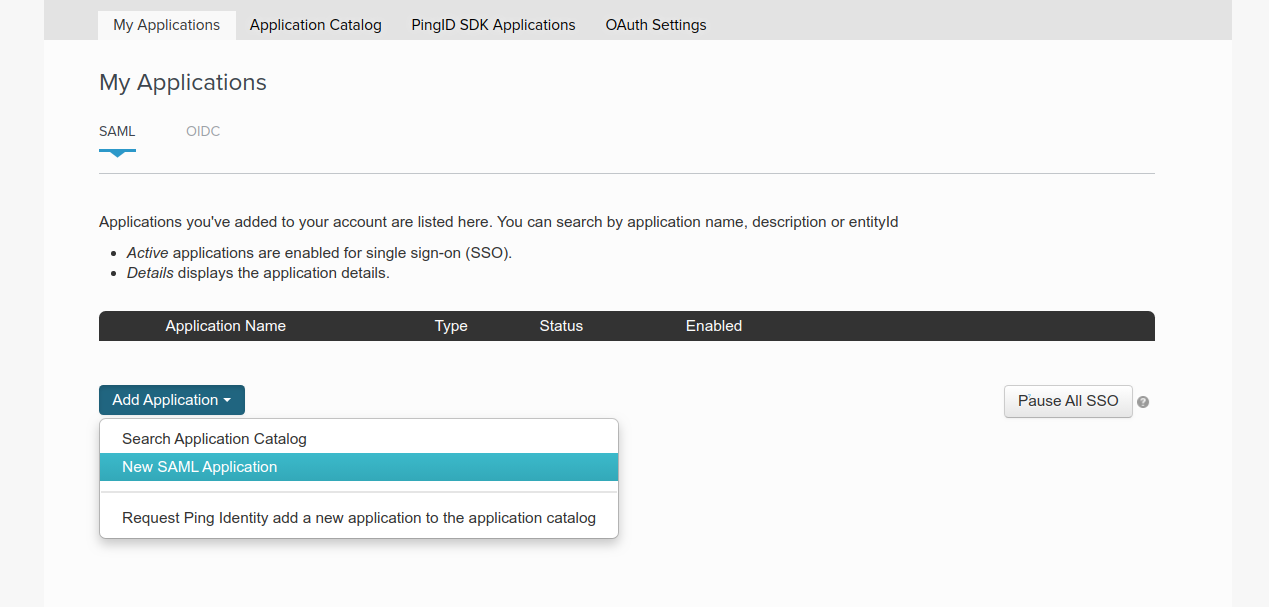
- Click the Add Application button and select New SAML Application
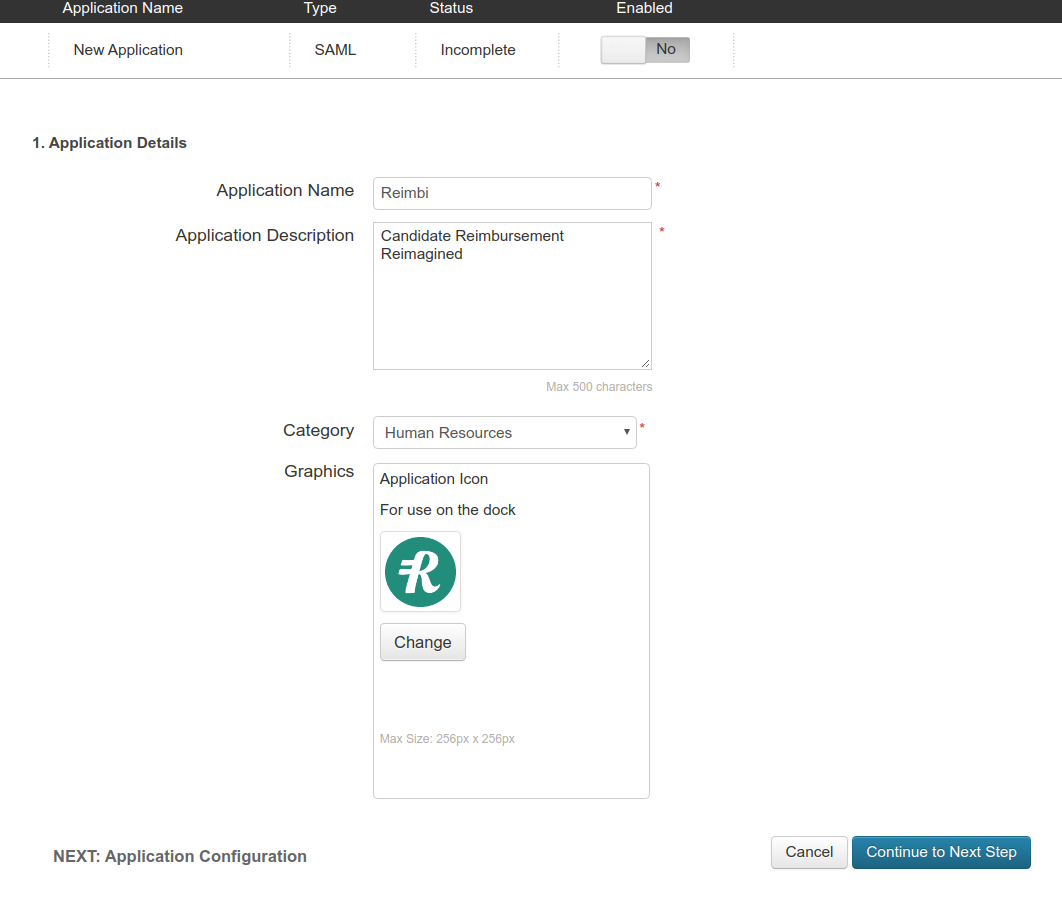
- then provide the necessary information:
- App name: Reimbi
- Sample description: Reimbursement Reimagined
- Logo: https://www.reimbi.com/branding
SAML settings
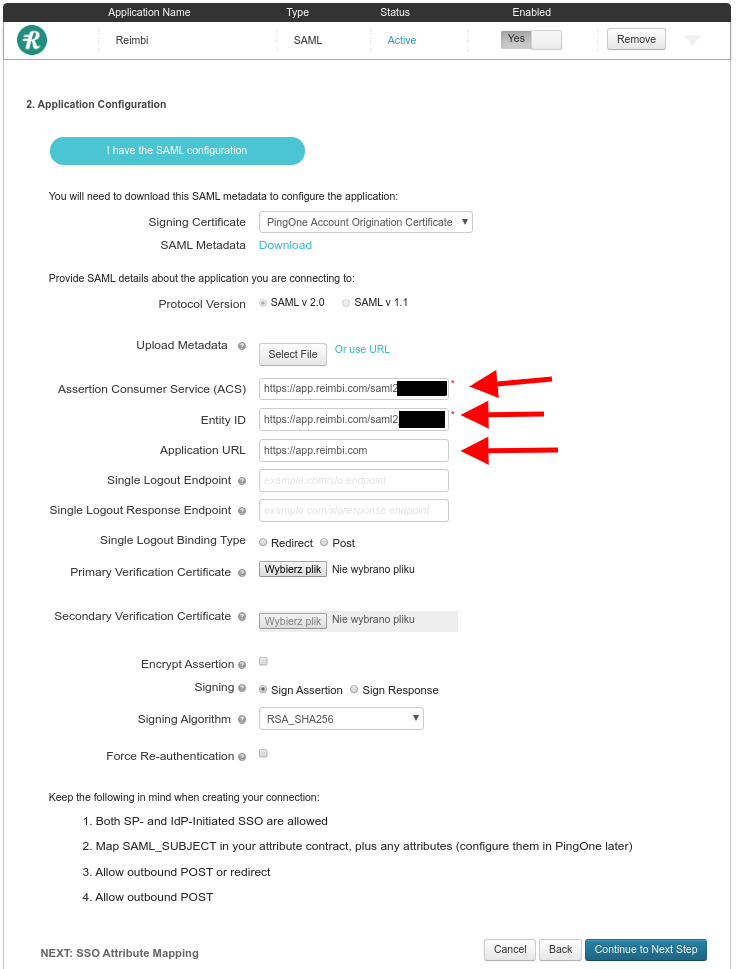
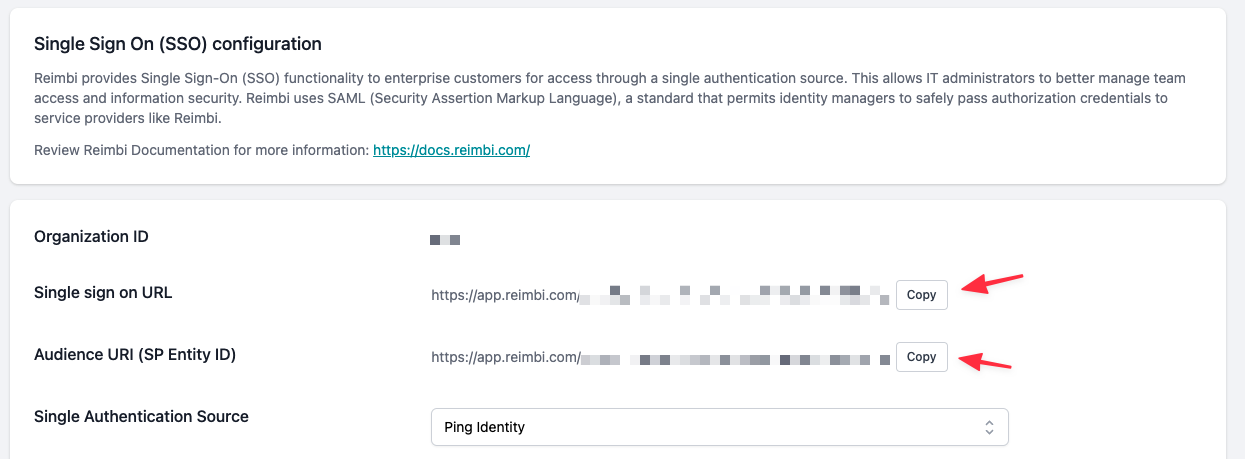
- Single sign on URL and Audience URI can be found on the Single Sign On (SSO) tab in Reimbi under Company Settings
SSO Attribute Mapping
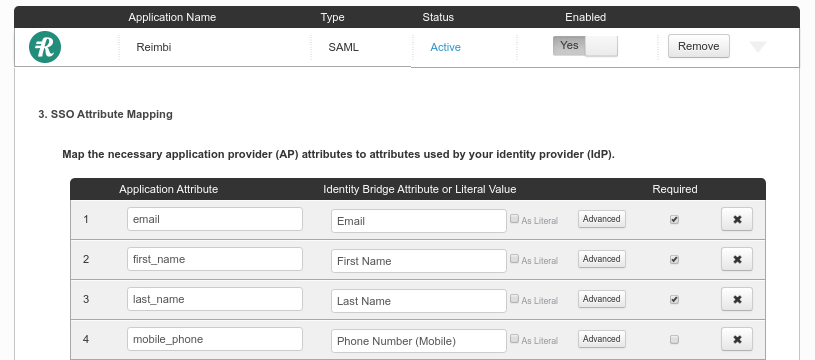
- Once everything is set please click the Continue to Next Step and then the Finish button.
Reimbi setup
Metadata URL
- Navigate to Company Settings and select the SAML SSO tab, then select Ping Identity as Single Authentication Source:
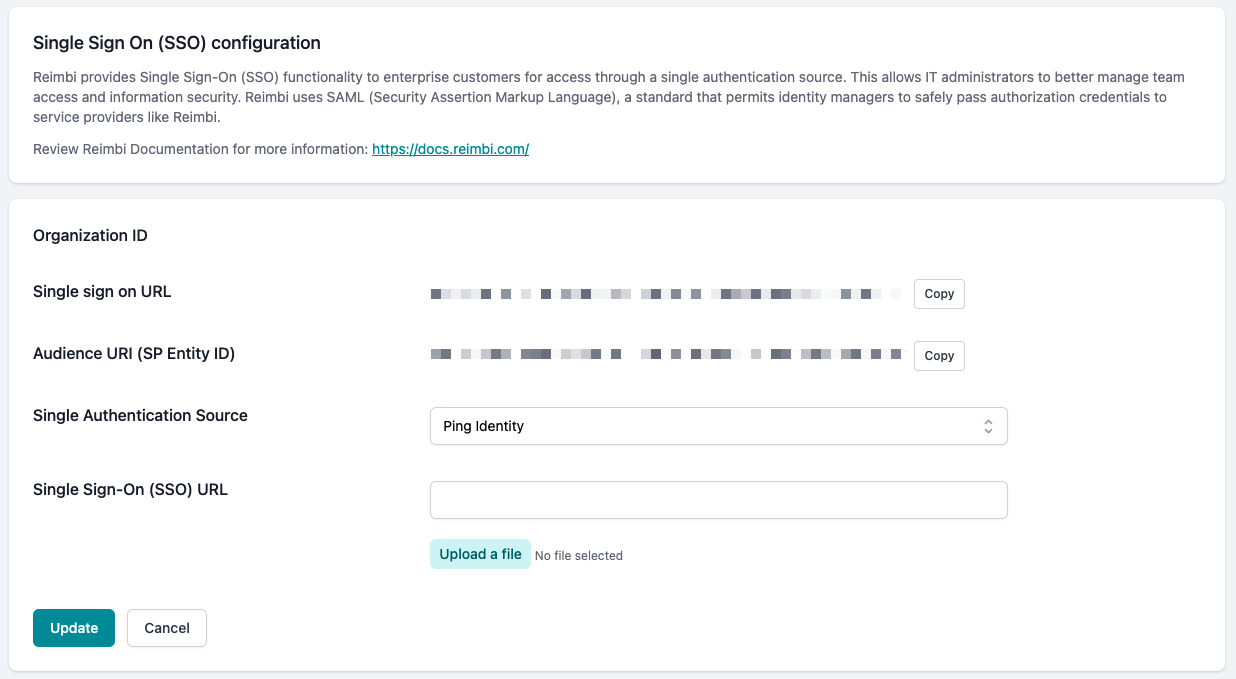
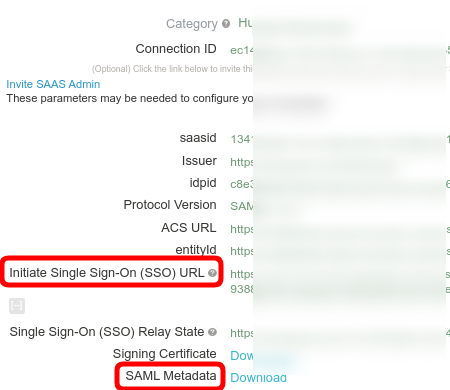
- Please upload Identity Provider metadata file and enter the Initiate Single Sign-On (SSO) URL which can be found on the application details page in Ping.
Log in to Reimbi using Single Sign On (SSO)
After a user is correctly provisioned in Ping Identity, that user will be need to start their initial Reimbi login from Ping Identity.
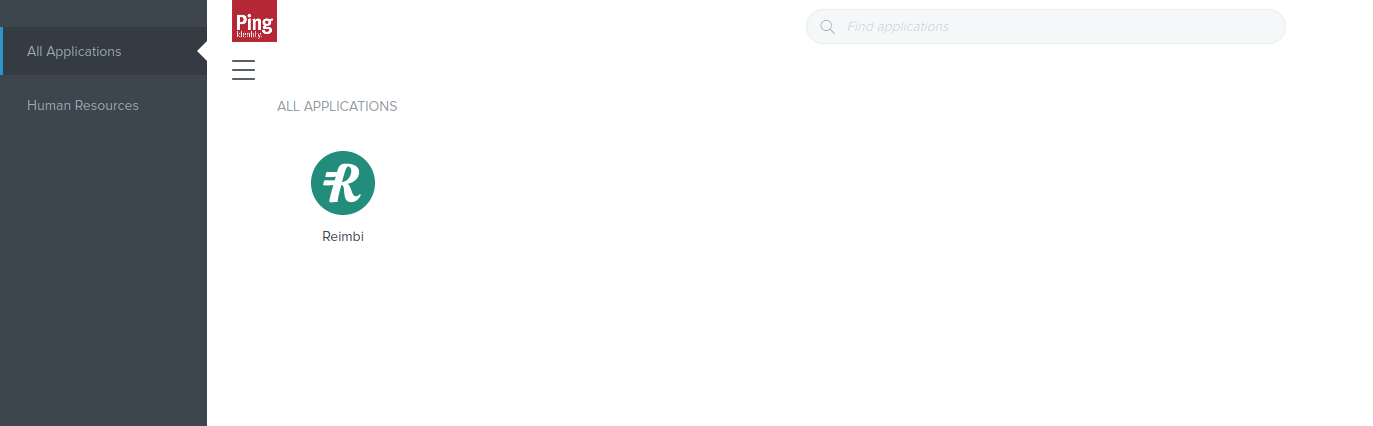
After the initial login the staff user will appear on the Staff accounts page in Reimbi. Also after the initial login staff users can continue to login via Ping Identity or login directly to Reimbi.
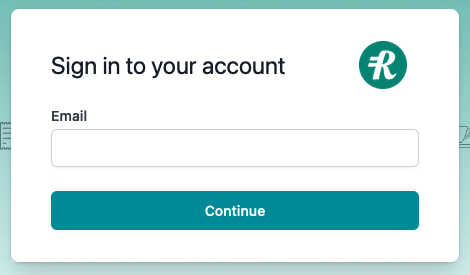
For direct Reimbi login, go to the login page (https://app.reimbi.com/account/login/). If the email entered belongs to a provisioned user, that user will automatically be redirected to sign in via the Ping Identity application.
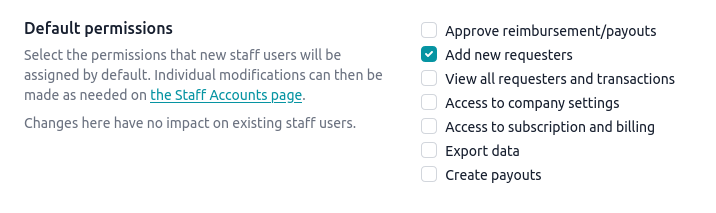
Default and additional permissions
Select the permissions that new staff users will be assigned by default. Individual modifications can then be made as needed on the Company Settings -> Staff accounts page.
Changes here have no impact on existing staff users.