Applicant Tracking System (ATS)
Ashby Integration Guide
The Ashby-Reimbi integration enables seamless candidate data sharing for expense reimbursement management.
Configuration Steps
Step 1: Create API Key
- Go to https://app.ashbyhq.com/admin/api/keys
- Click the "New" button
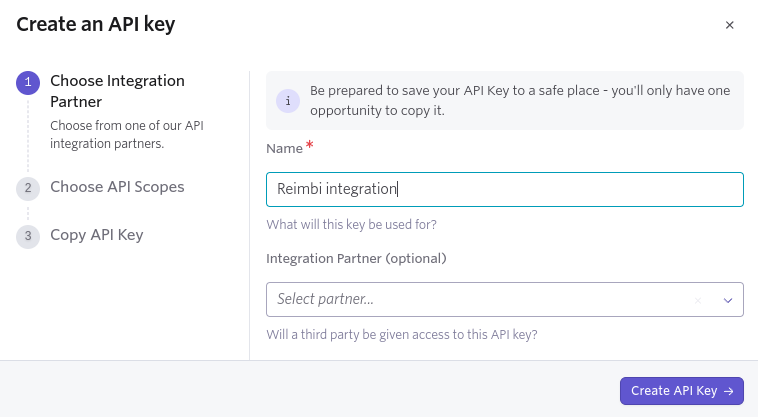
- Configure the key:
- Name: "Reimbi integration"
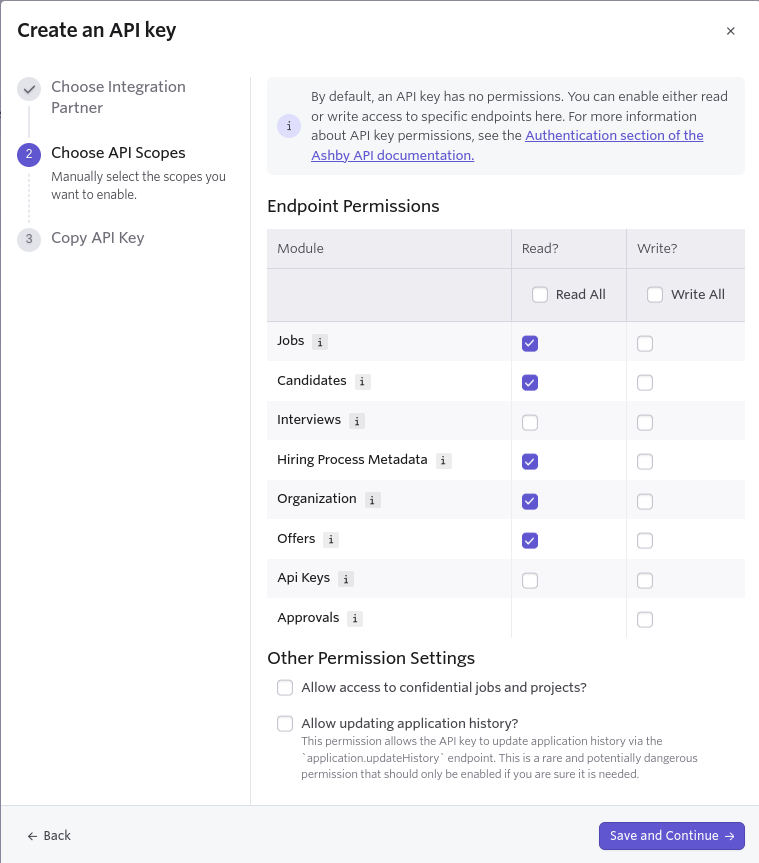
- Select required endpoint permissions
- Click "Create API key"
- Save your API key securely for the next step
Step 2: Configure Reimbi Settings
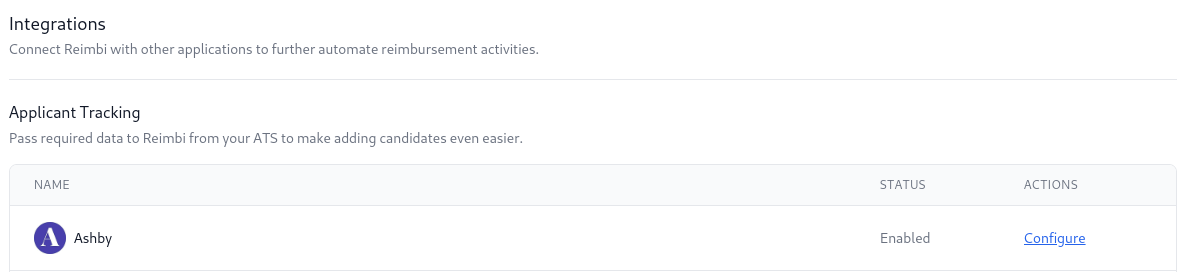
- Navigate to Company Settings > Integrations in Reimbi
- Click "Configure" next to Ashby
- Configure the settings:
- Enable the integration
- Enter your Ashby API Key
- Select approver role (Hiring Team or standard Reimbi settings)
- Set backup approver
- Click "Update"
Step 3: Get Webhook Information
- In Reimbi, go to Company Settings > Integrations
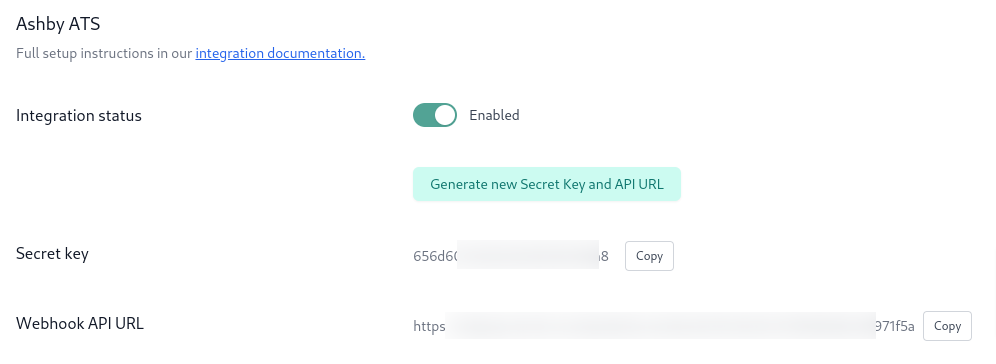
- Click "Configure" next to Ashby
- Click "Generate new Secret Key and API URL"
- Copy both:
- Webhook API URL
- Secret Key
Step 4: Set Up Webhook in Ashby
- Visit https://app.ashbyhq.com/admin/api/webhooks
- Click "New"
- Configure webhook:
- Title: "Reimbi Webhook"
- Type: "Candidate Application Changed Stage"
- Enter Webhook API URL and Secret Token from Reimbi
- Click "Add"

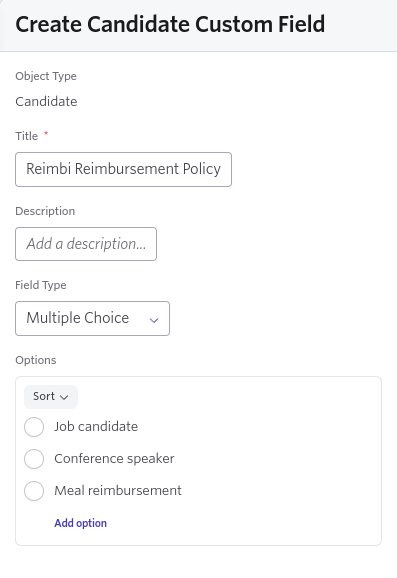
Step 5: Add Policy Field (Optional)
Required only for multiple reimbursement policies:
- Go to https://app.ashbyhq.com/admin/organizational-settings/custom-fields/candidate
- Click "+ New"
- Configure field:
- Name: "Reimbi Reimbursement Policy"
- Type: "Multiple Choice (Select a single option)"
- Options: Add your policy names (must match Reimbi exactly)
- Click "Create"
Note: Review your policy names in Reimbi under Company Settings > Expense policies
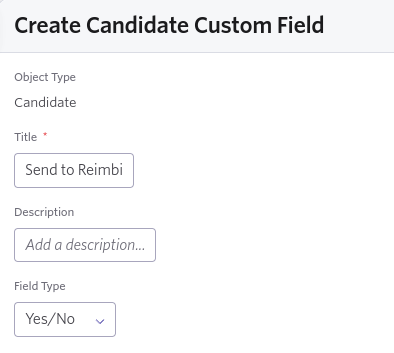
Step 6: Add Trigger Field
- Go to https://app.ashbyhq.com/admin/organizational-settings/custom-fields/candidate
- Click "New"
- Configure field:
- Name: "Send to Reimbi"
- Type: "Yes/No"
- Click "Create"
Using the Integration
Sending Candidates to Reimbi
- Open candidate's Summary tab in Ashby
- Set the appropriate:
- Reimbi Reimbursement Policy
- "Send to Reimbi" field to Yes
- Change the candidate's stage
What Happens Next
Two automatic actions occur:
- Candidate record created in Reimbi:
- Status: 'Invited'
- Candidate receives email with:
- Reimbi account setup instructions
- Expense submission guidelines
Support
Need assistance? Contact support@reimbi.com for integration troubleshooting help.